Quick Tips for Using a Hair Light
Adding a hair light in portraits means you get a little POP of dimension and life to your images.
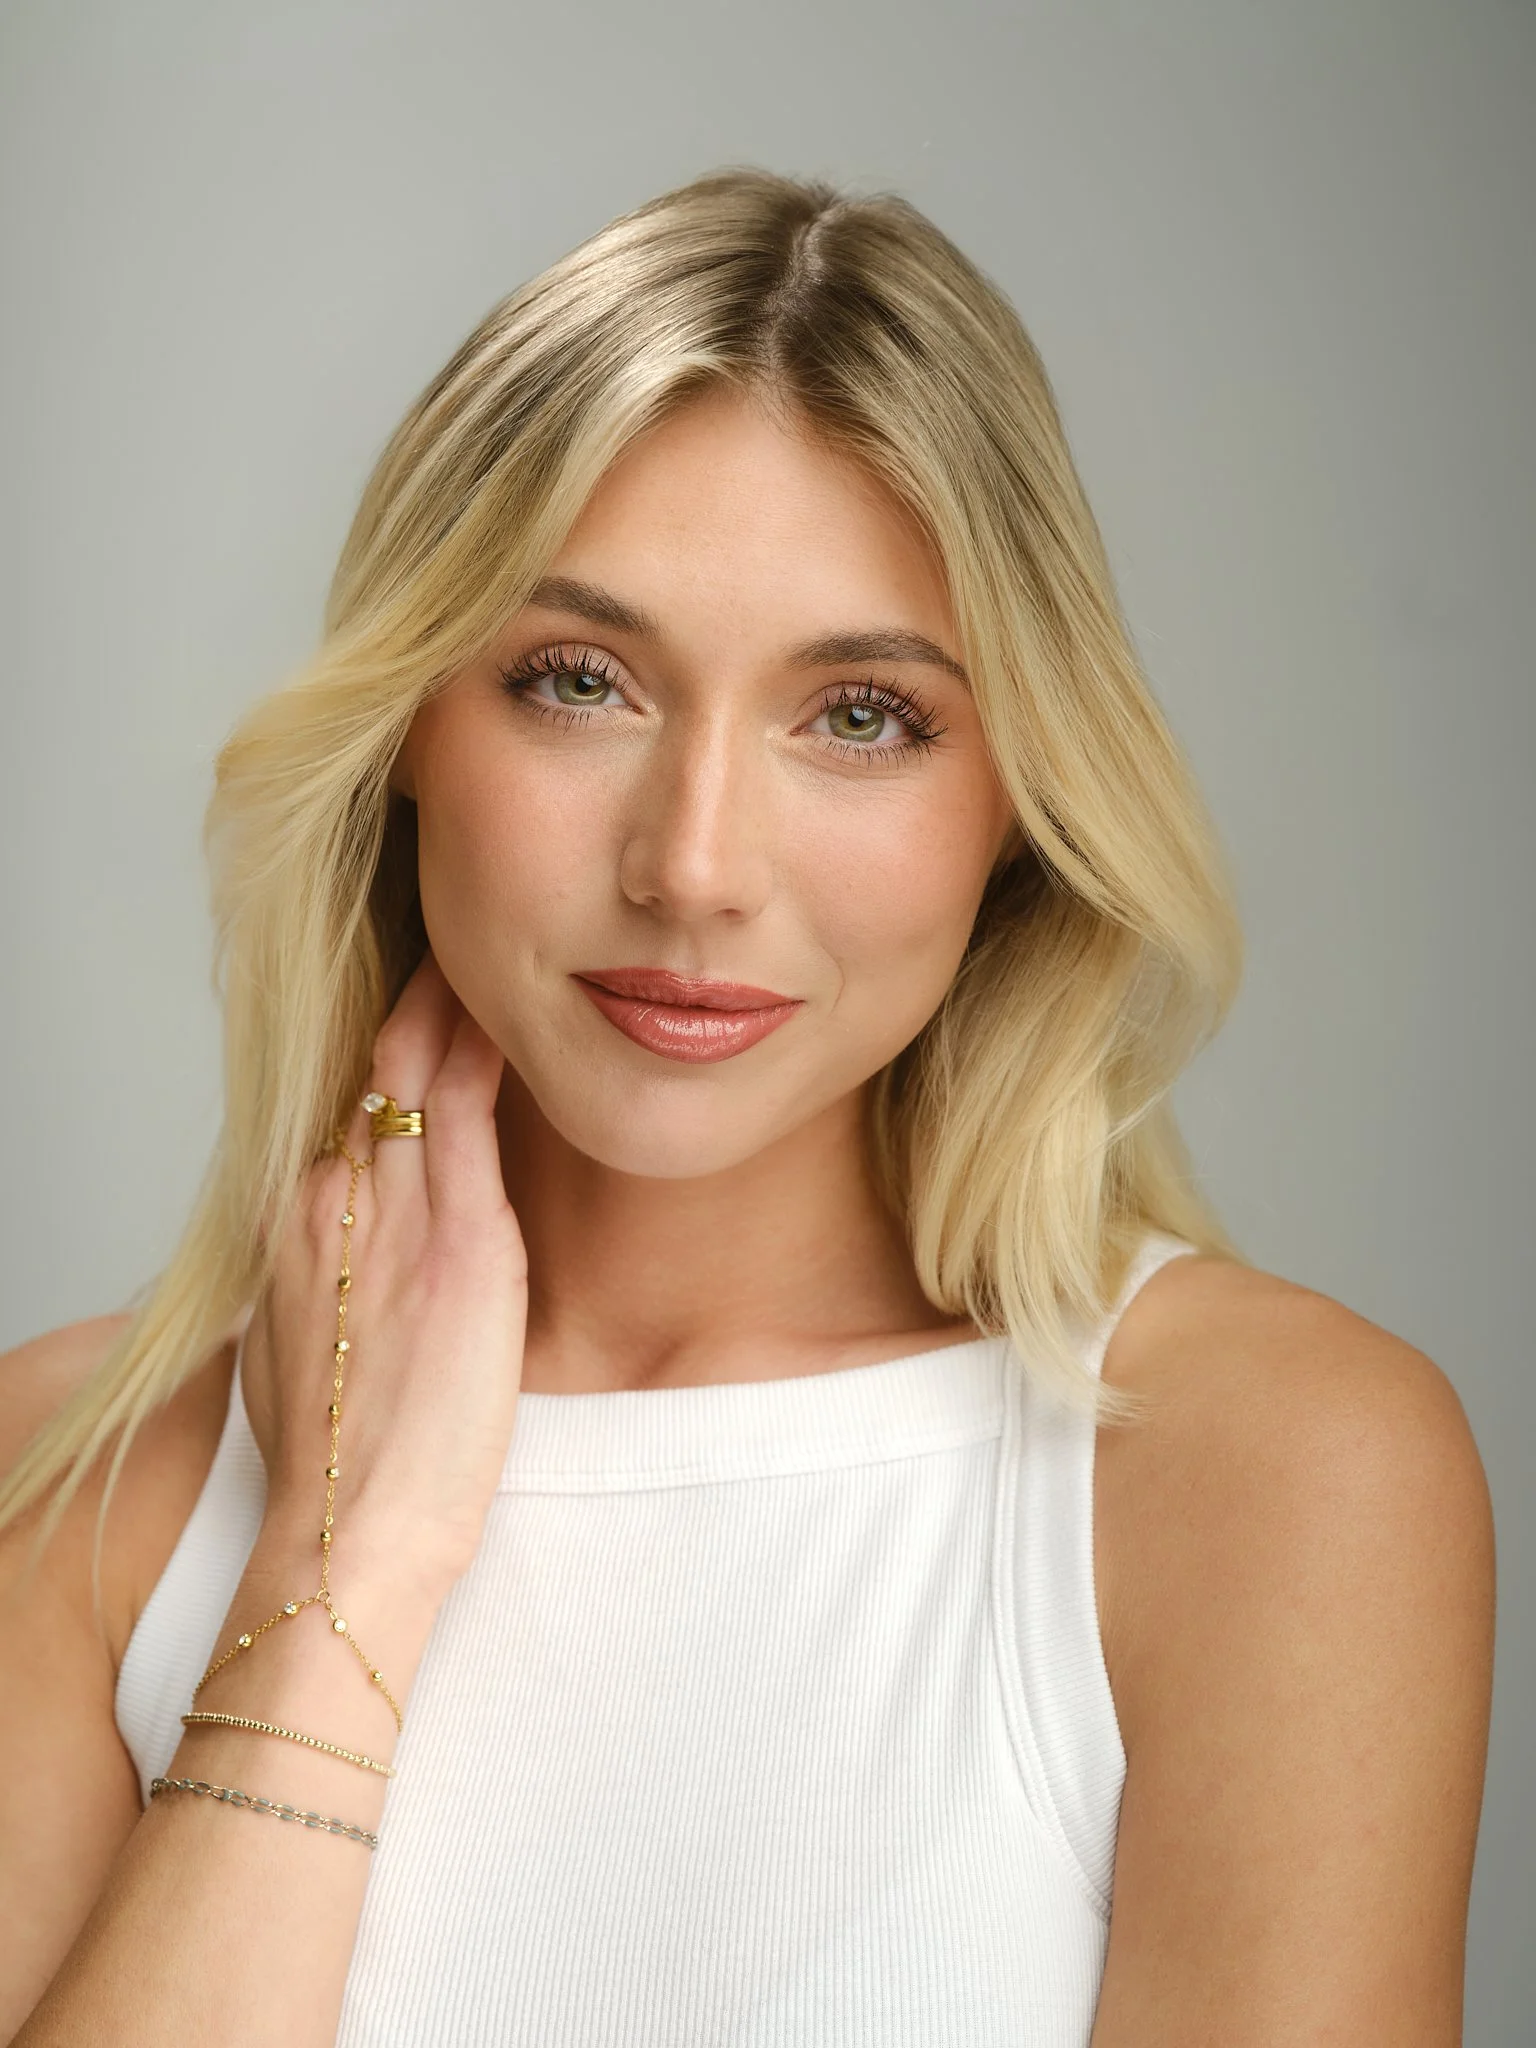
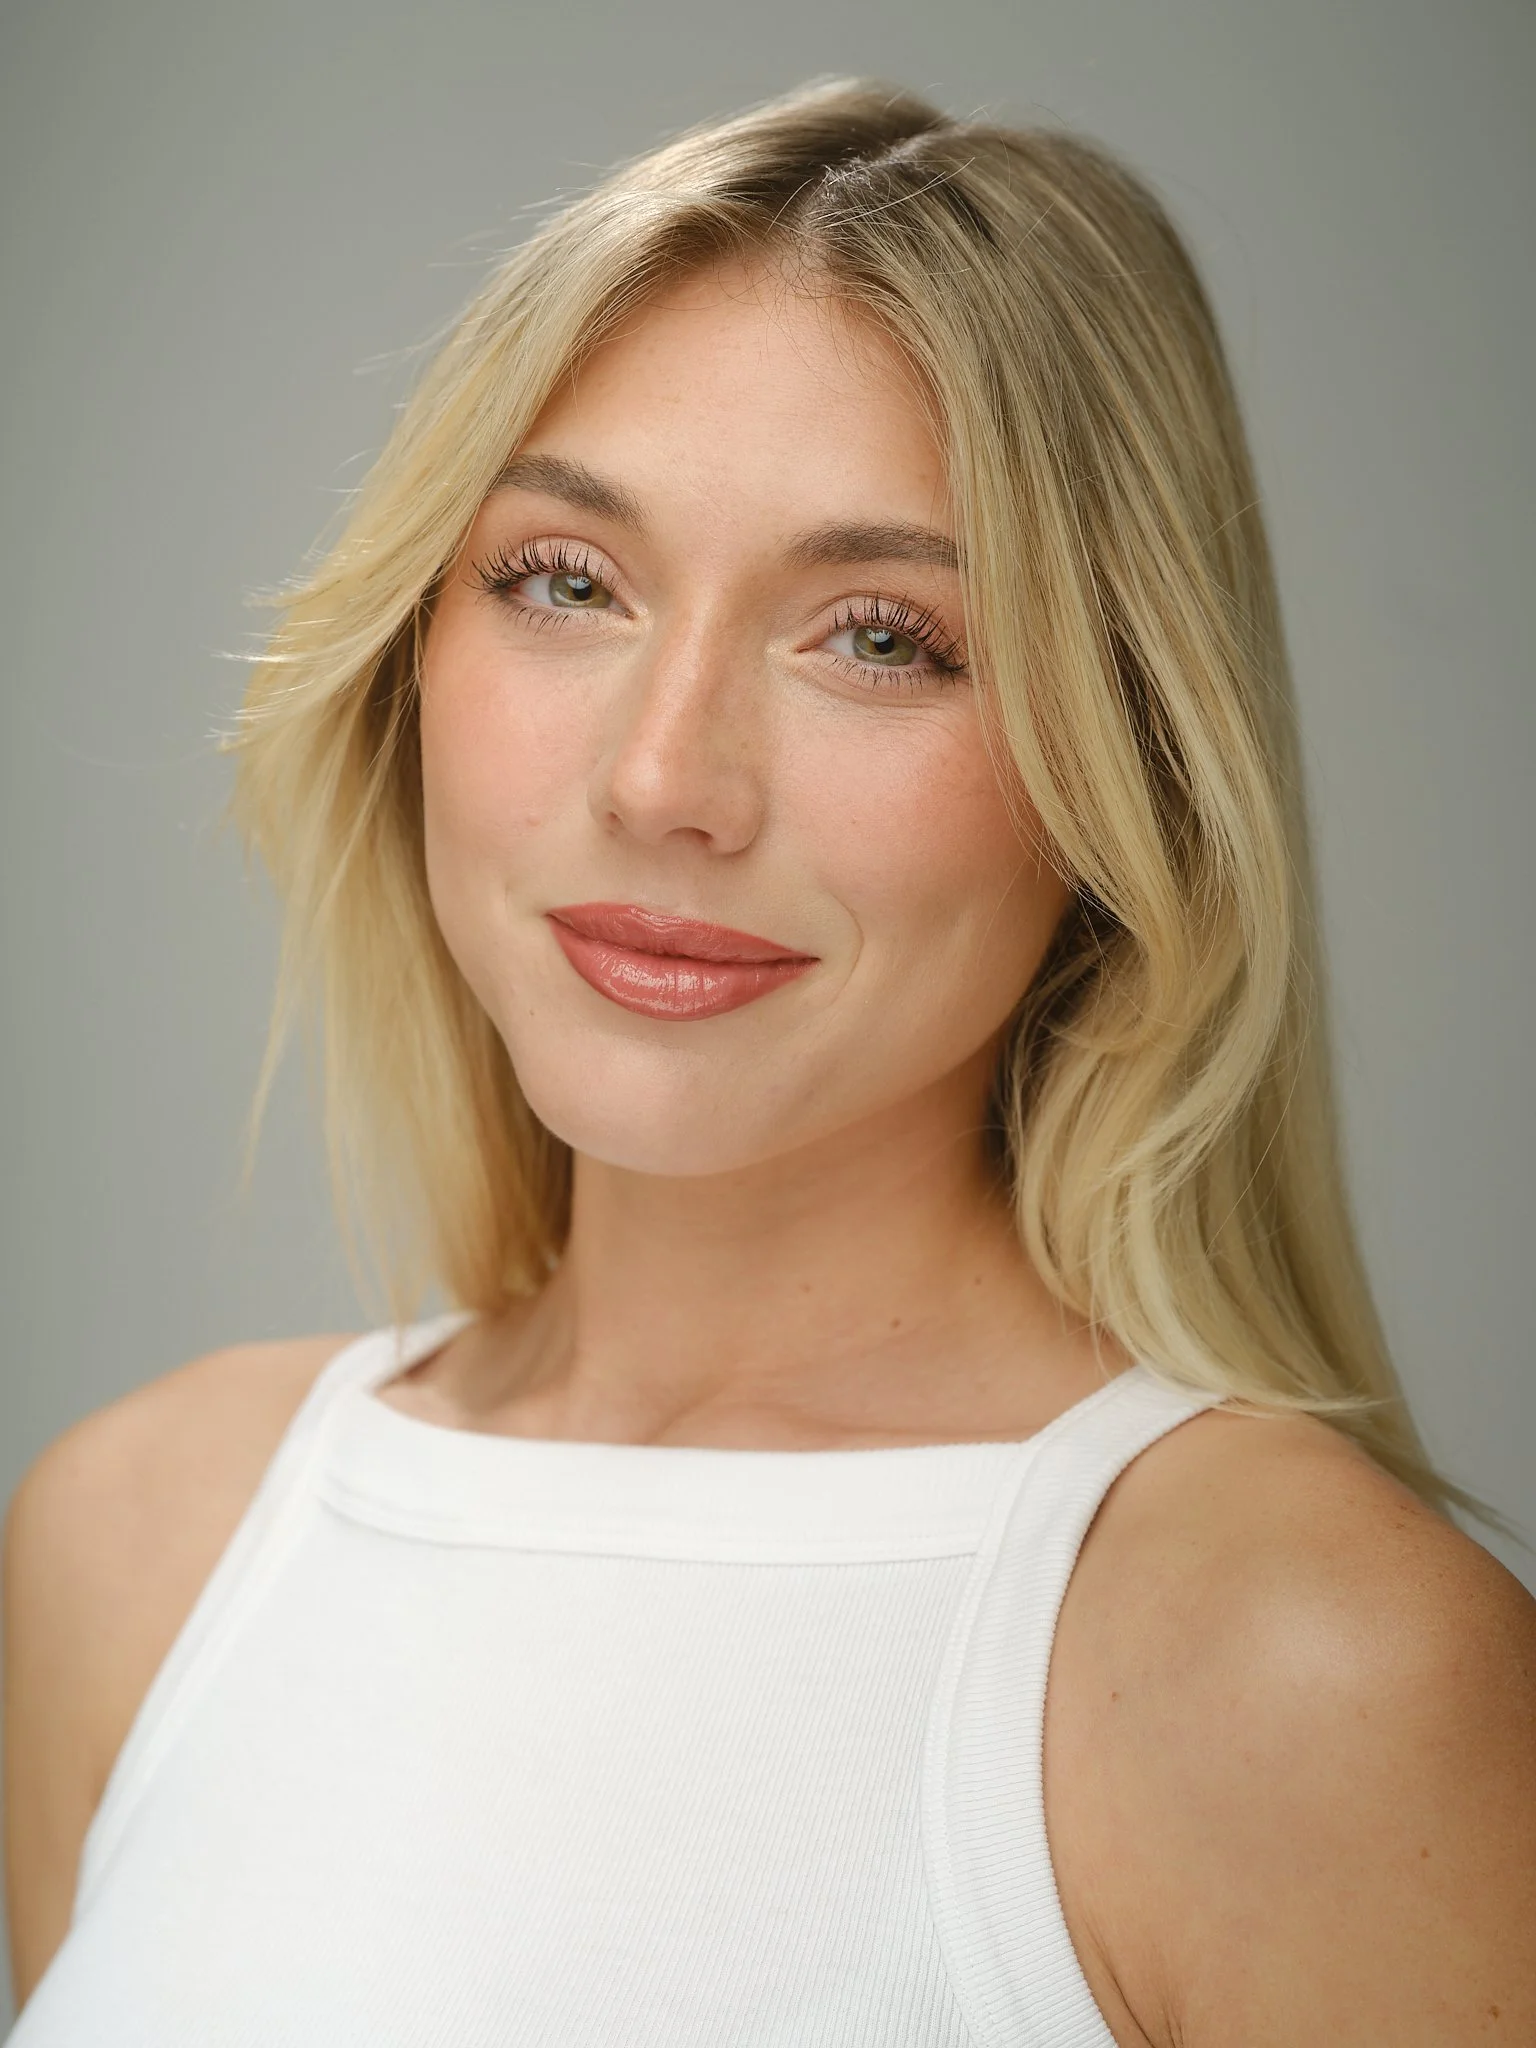
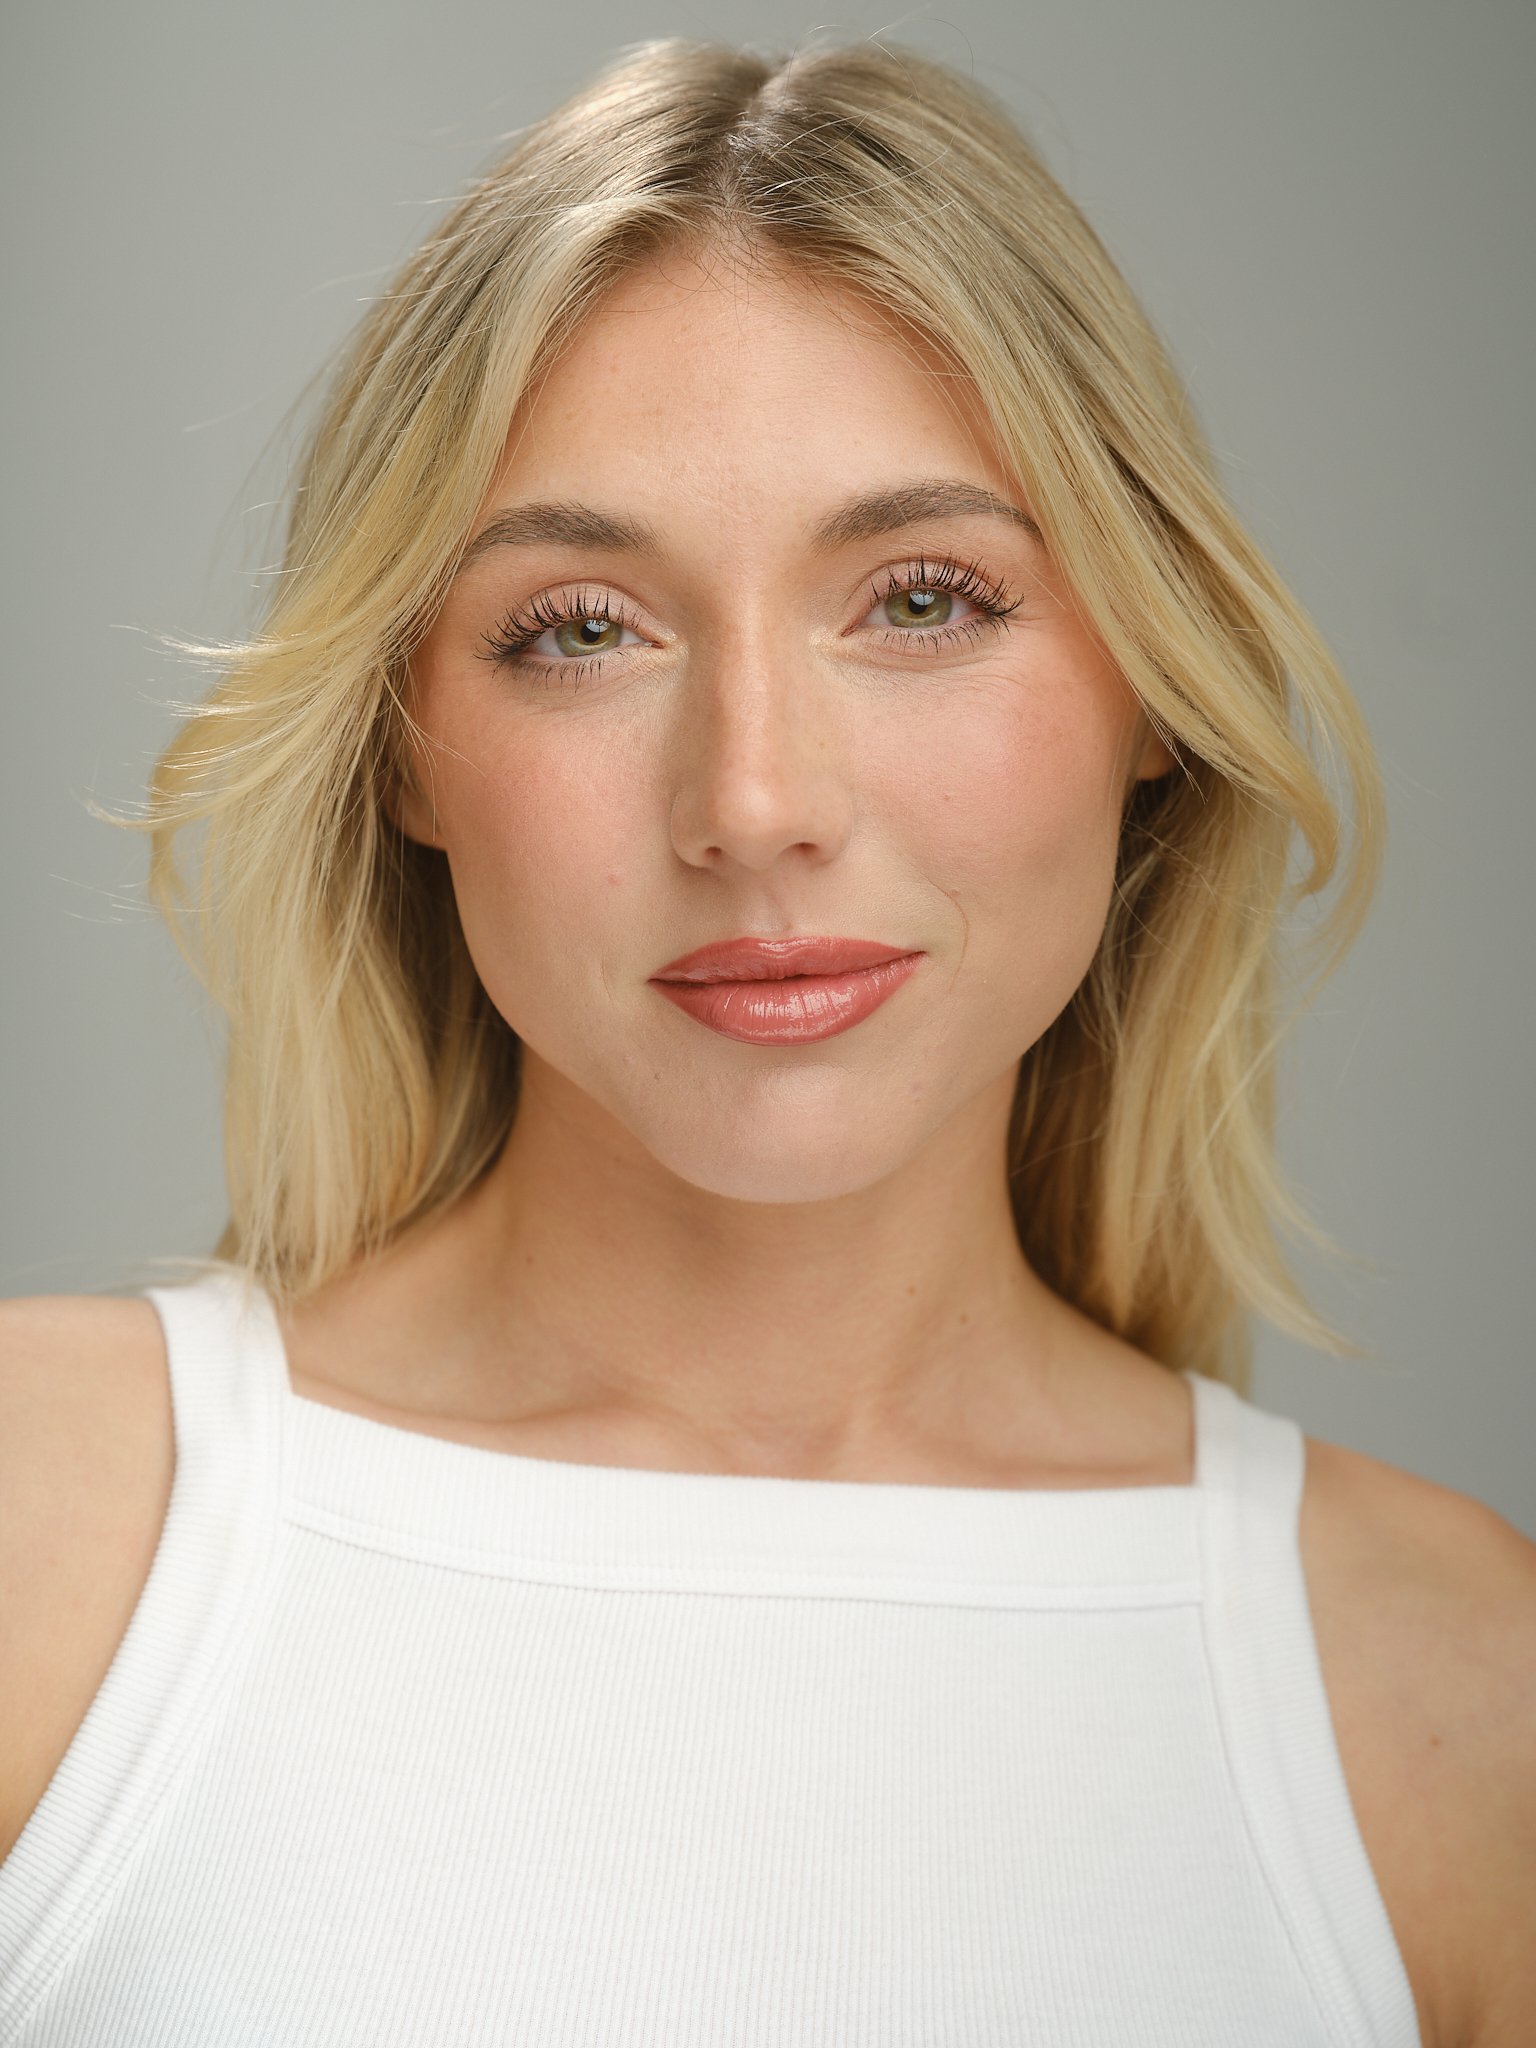
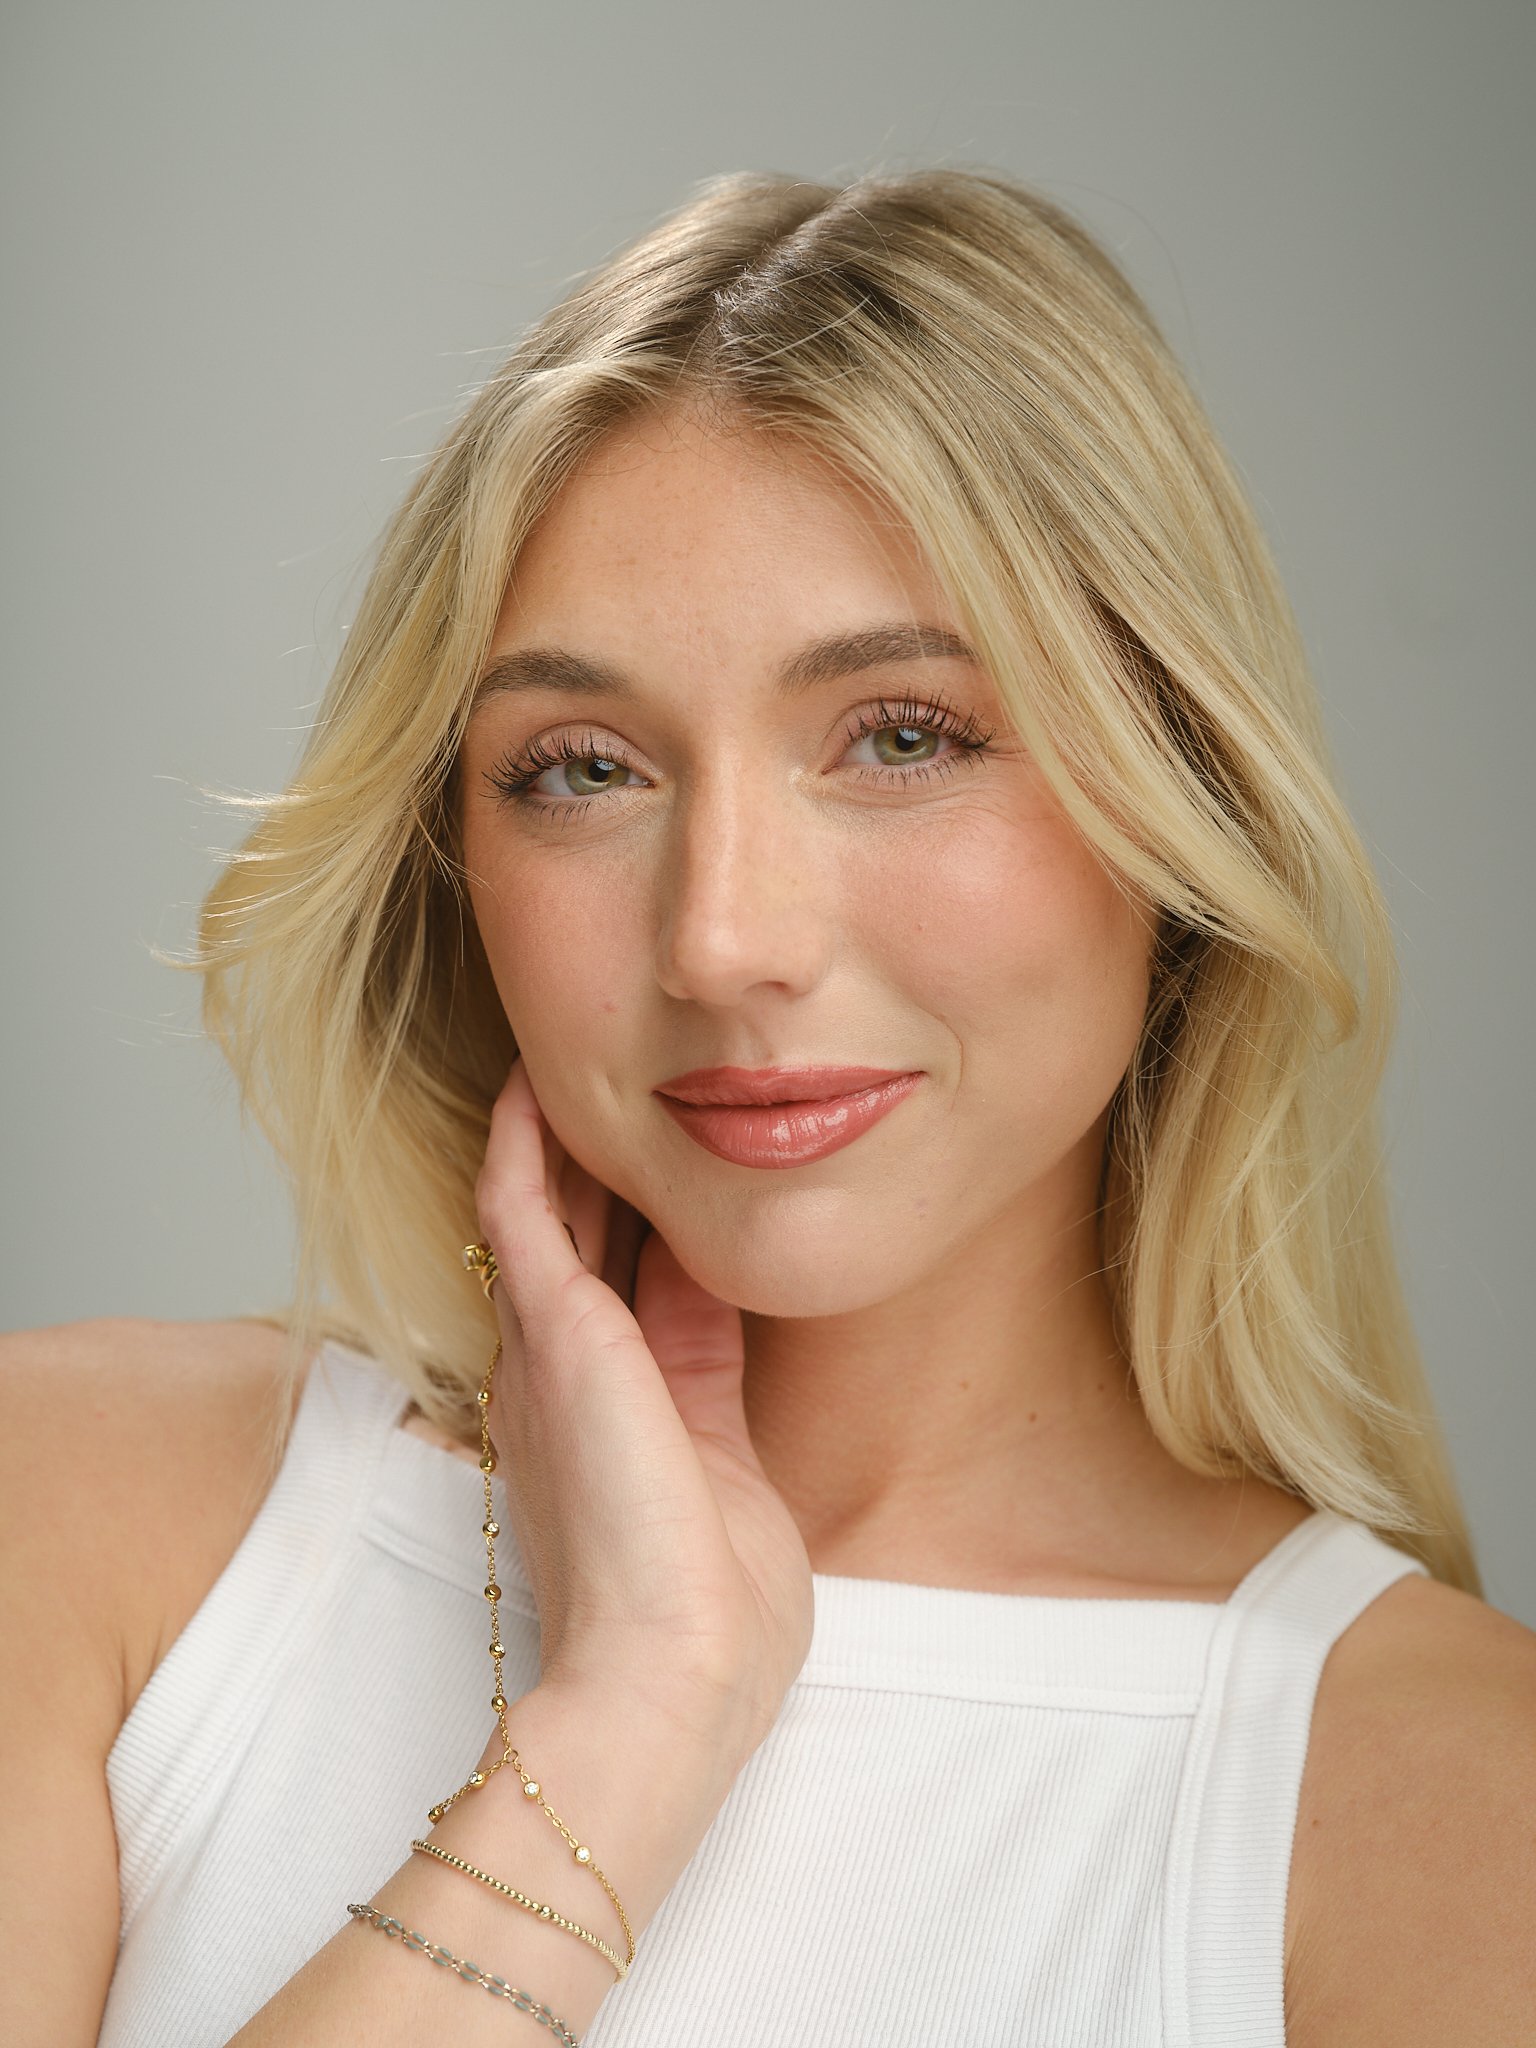
Here’s a final image from Elizabeth’s model portfolio update session, using a hair light. All the remaining images in the blog post are straight out of the camera, with no edits!
One of the most common mistakes in clean portfolio lighting is treating the hair light as an afterthought. When it’s rushed or added last, it often spills onto the face, washes the background, or creates distracting highlights.
If you’re getting started with off camera flash, and want to use a hair light…you can try this simple fix:
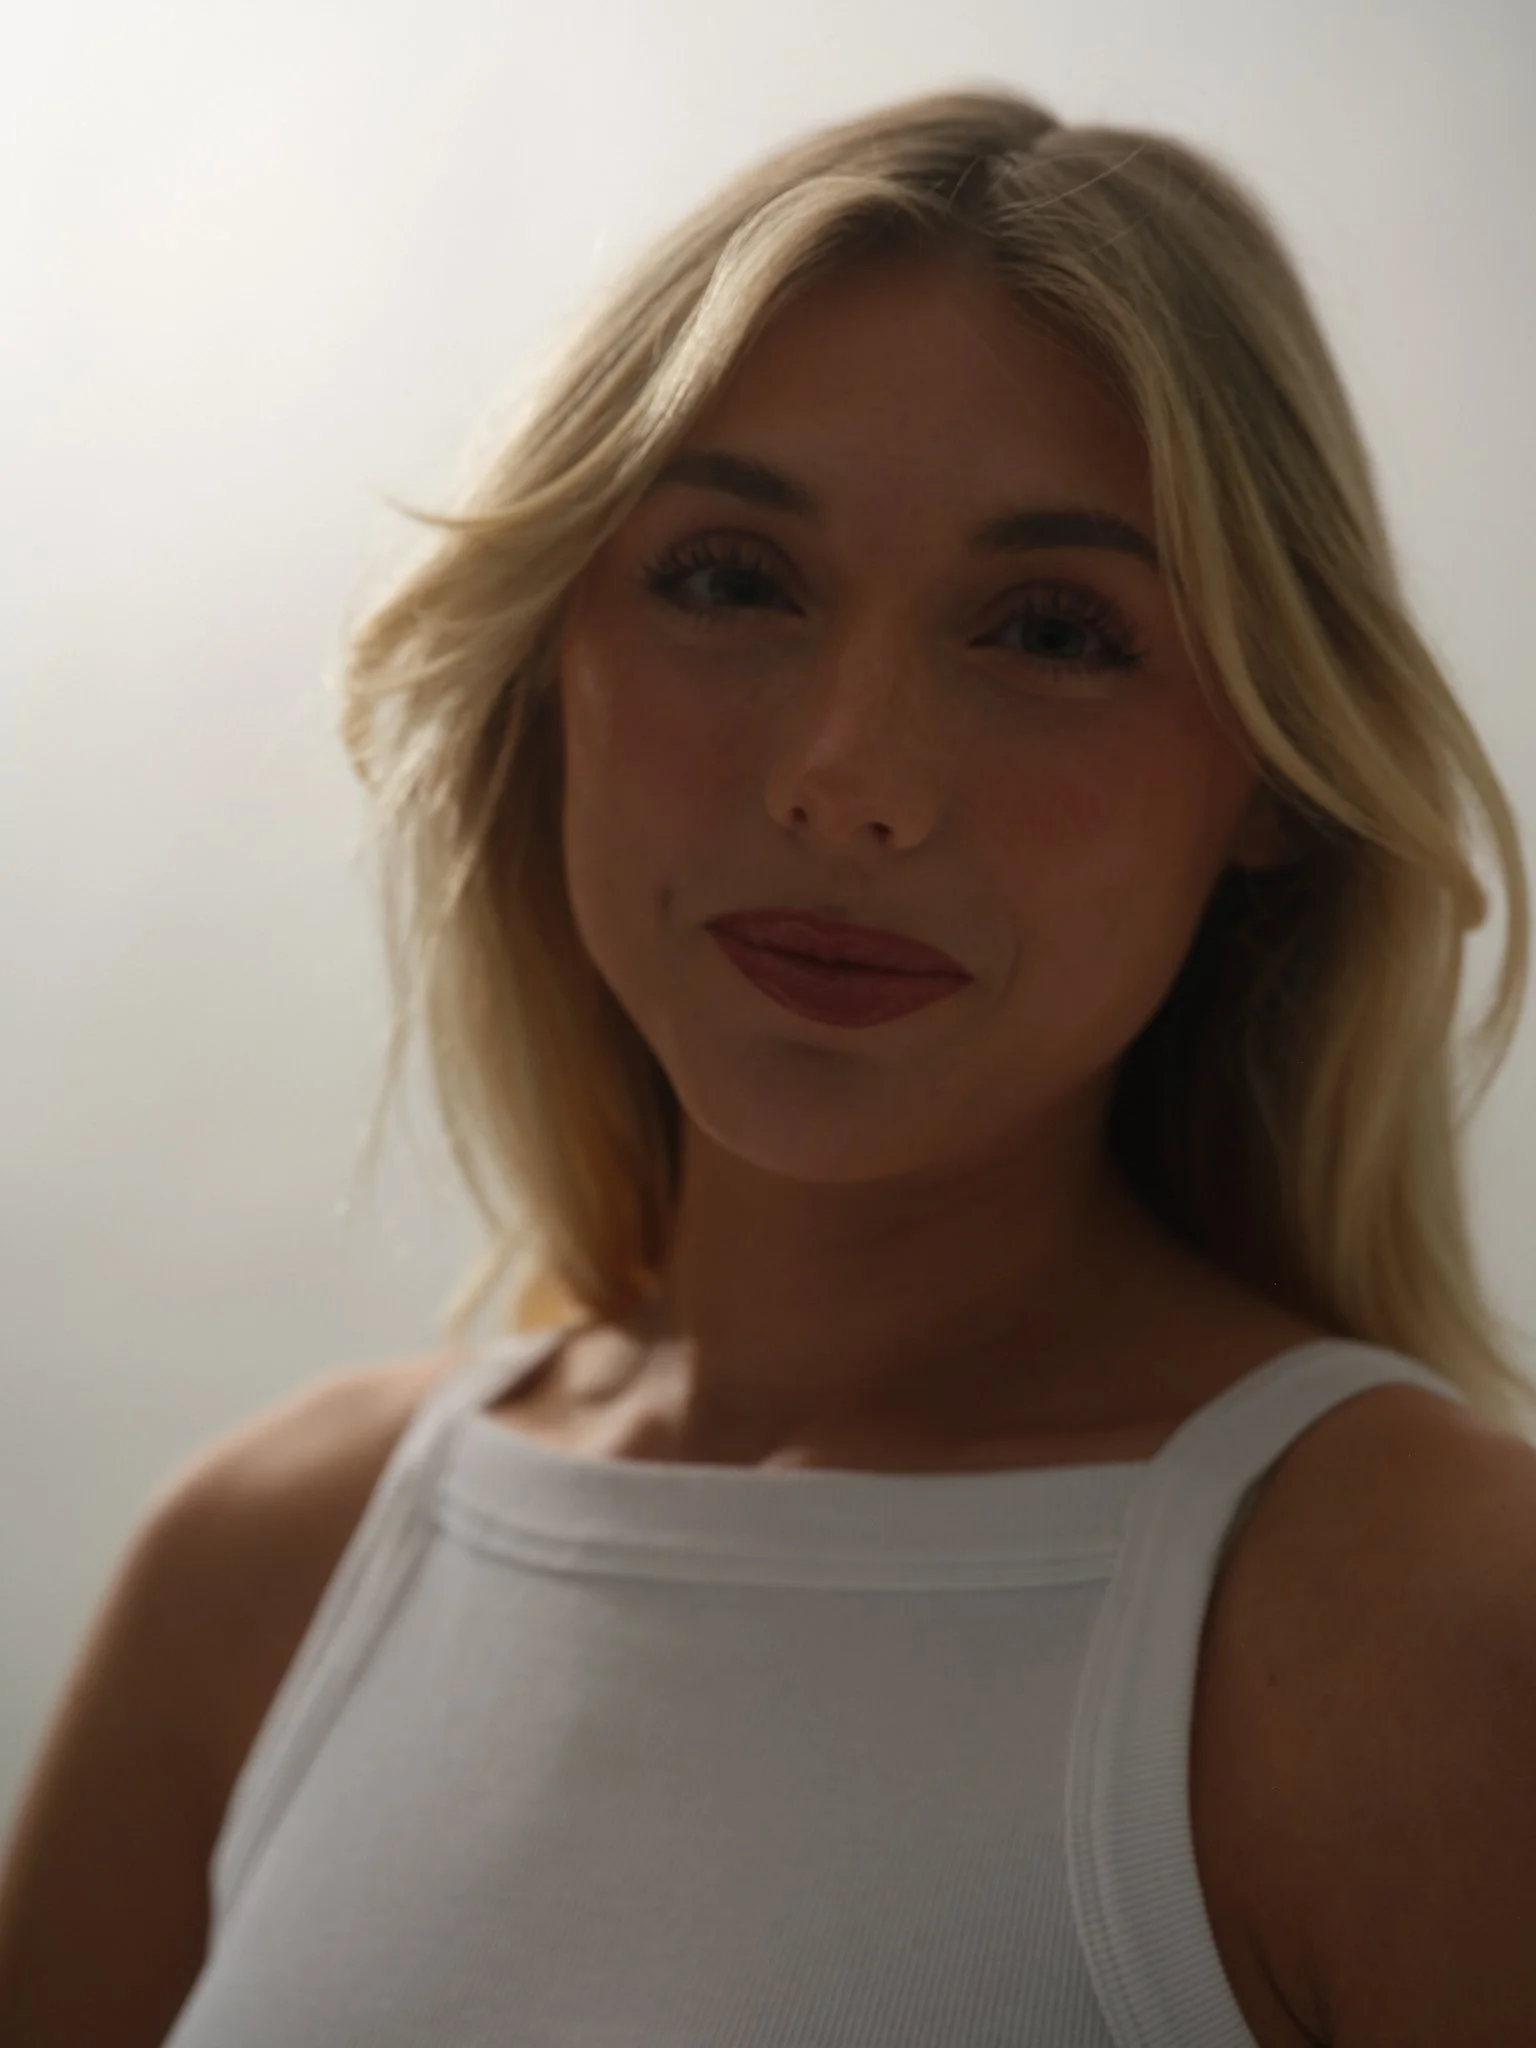
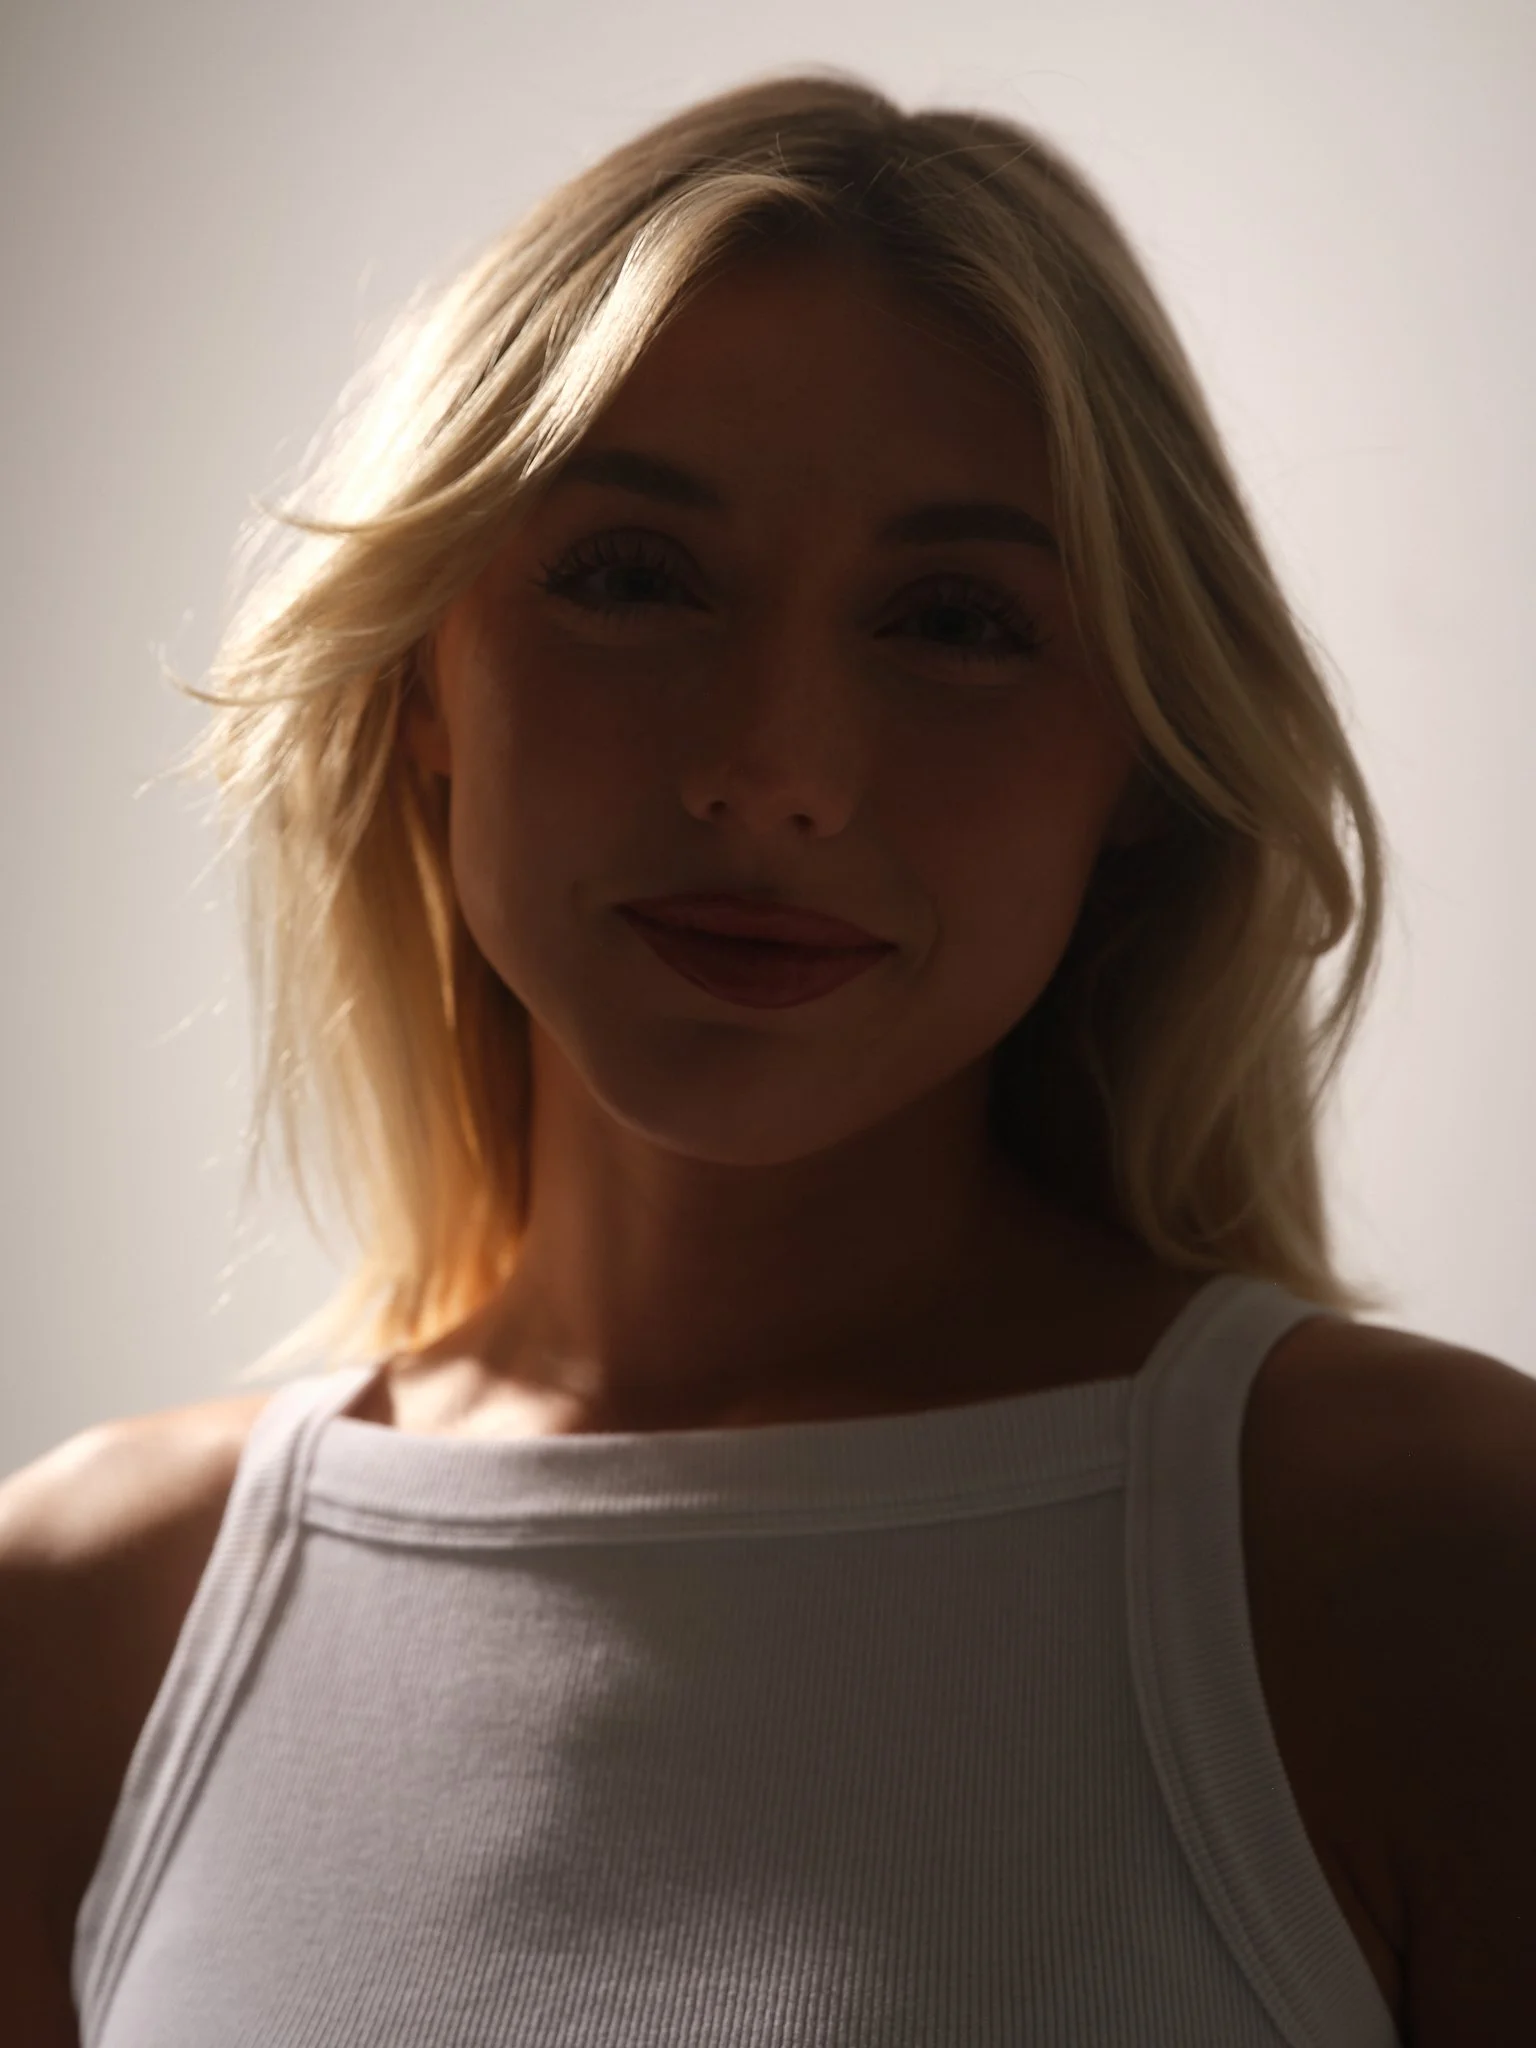
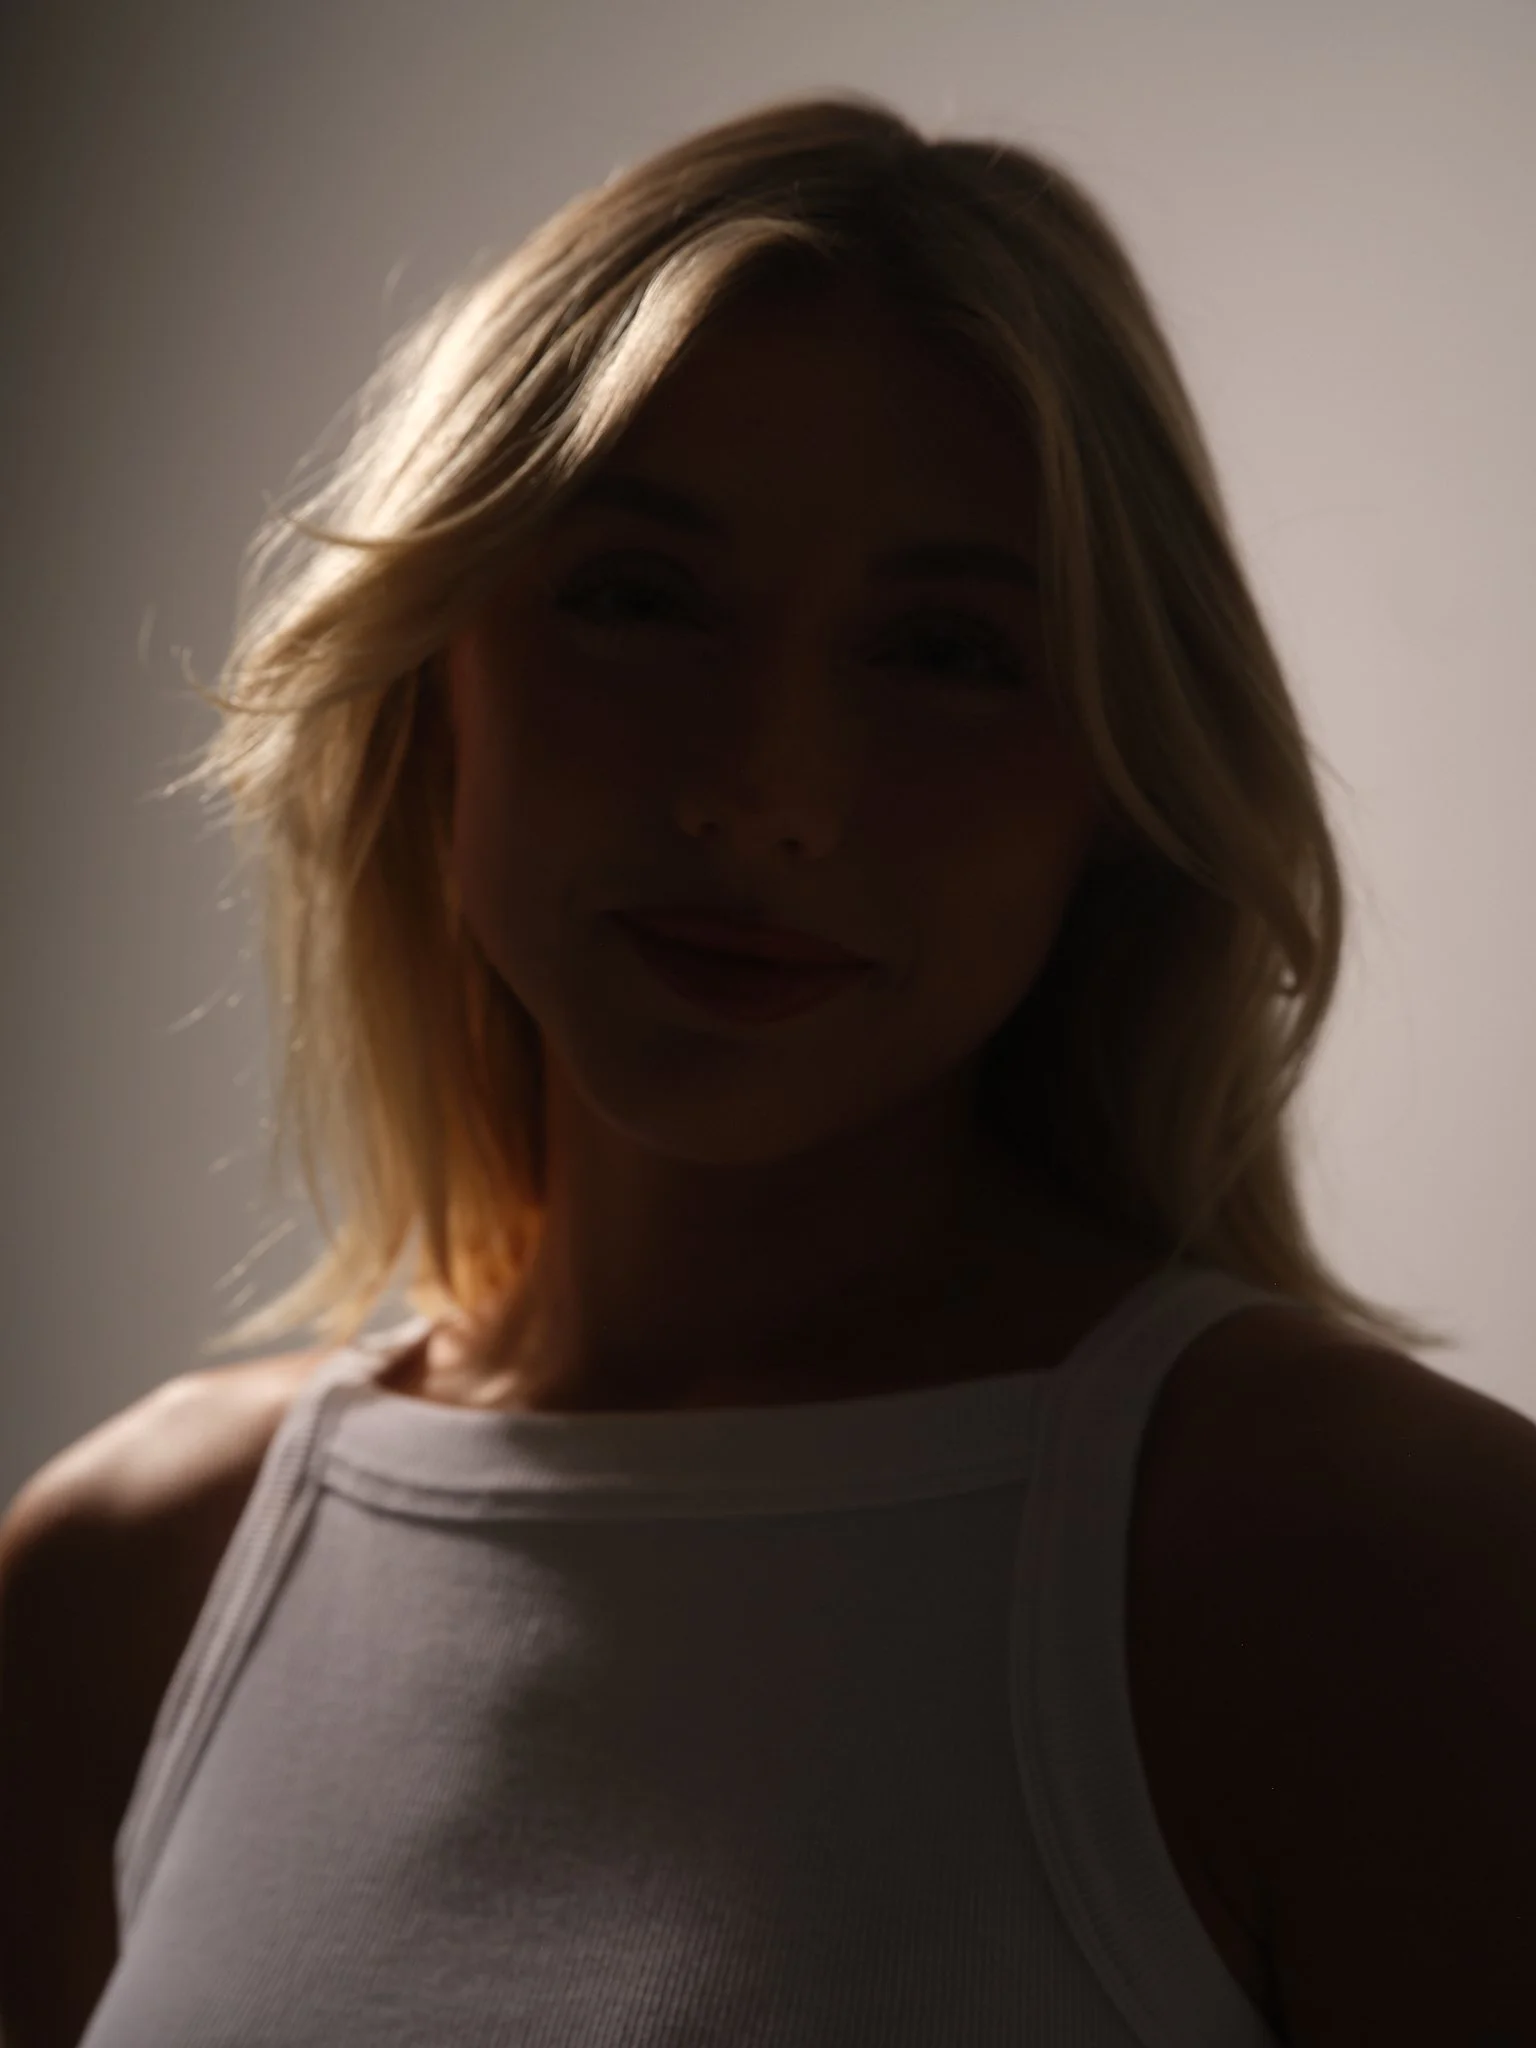
Set your hair light first — and set it by itself.
The Goal of a Hair Light
A hair light is an artistic decision that:
Highlights the hair
Creates separation from the background
Adds polish and dimension
Hair light should not:
Wrap onto the side of the face
Light the shoulder or cheek
Brighten the background
If it’s doing any of those things, it’s no longer helping the image.
Why You Set It First
When the hair light is on by itself, you can clearly see:
Where it’s hitting
How wide the spread is
Whether it’s spilling forward or backward
Once the main light is on, you may get stuck in trying to make adjustments as quickly and effectively. Setting it first removes the guesswork.
Positioning Tips That Matter
1. Height matters more than power
Start higher than you think and angle the light down. A hair light that’s too low will wrap onto the face every time.
2. Aim with intention
Feather the light so the edge of the beam just kisses the hair. You want the falloff, not the hotspot.
3. Control the spread
Use grids, barn doors, or distance to keep the light narrow. If the background is lighting up, your beam is too wide.
4. Move your Subject
Moving the light around back and forth can get exhausting. Rotate/move your subject until you find the right position. Then, you can adjust your entire setup as needed for the right angle relative to your backdrop.
You’ll get better at positioning your light with experience. Keep adjusting until you get it right. It’s worth it!
After the Hair Light Is Set…
Once you’re happy with the hair light by itself, then turn on your main light and bring in the eyelighter. At that point, you’re shaping the face — not fixing mistakes behind it.

Final Takeaway
Clean, professional images come from separating tasks. When every light has one clear job, your results become repeatable and controlled.
Set the hair light first.
Set it alone.
Then build the rest of the image with intention.
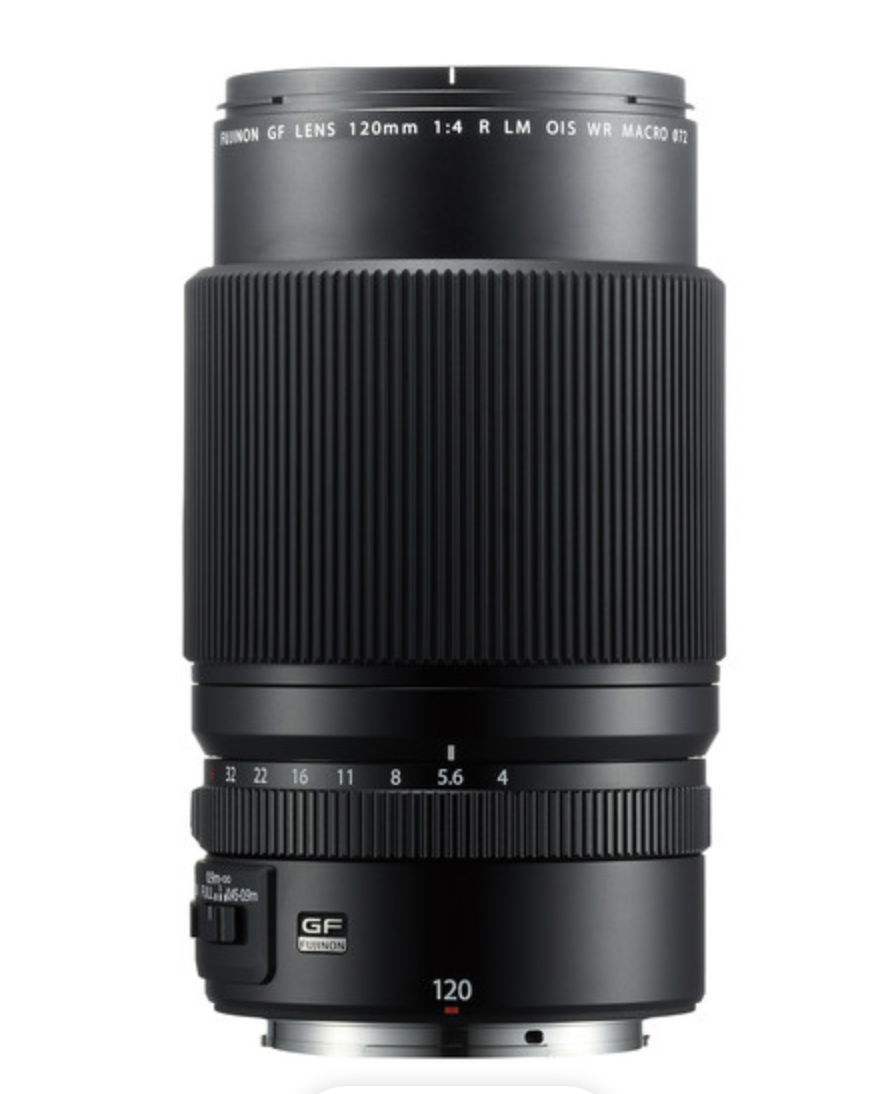
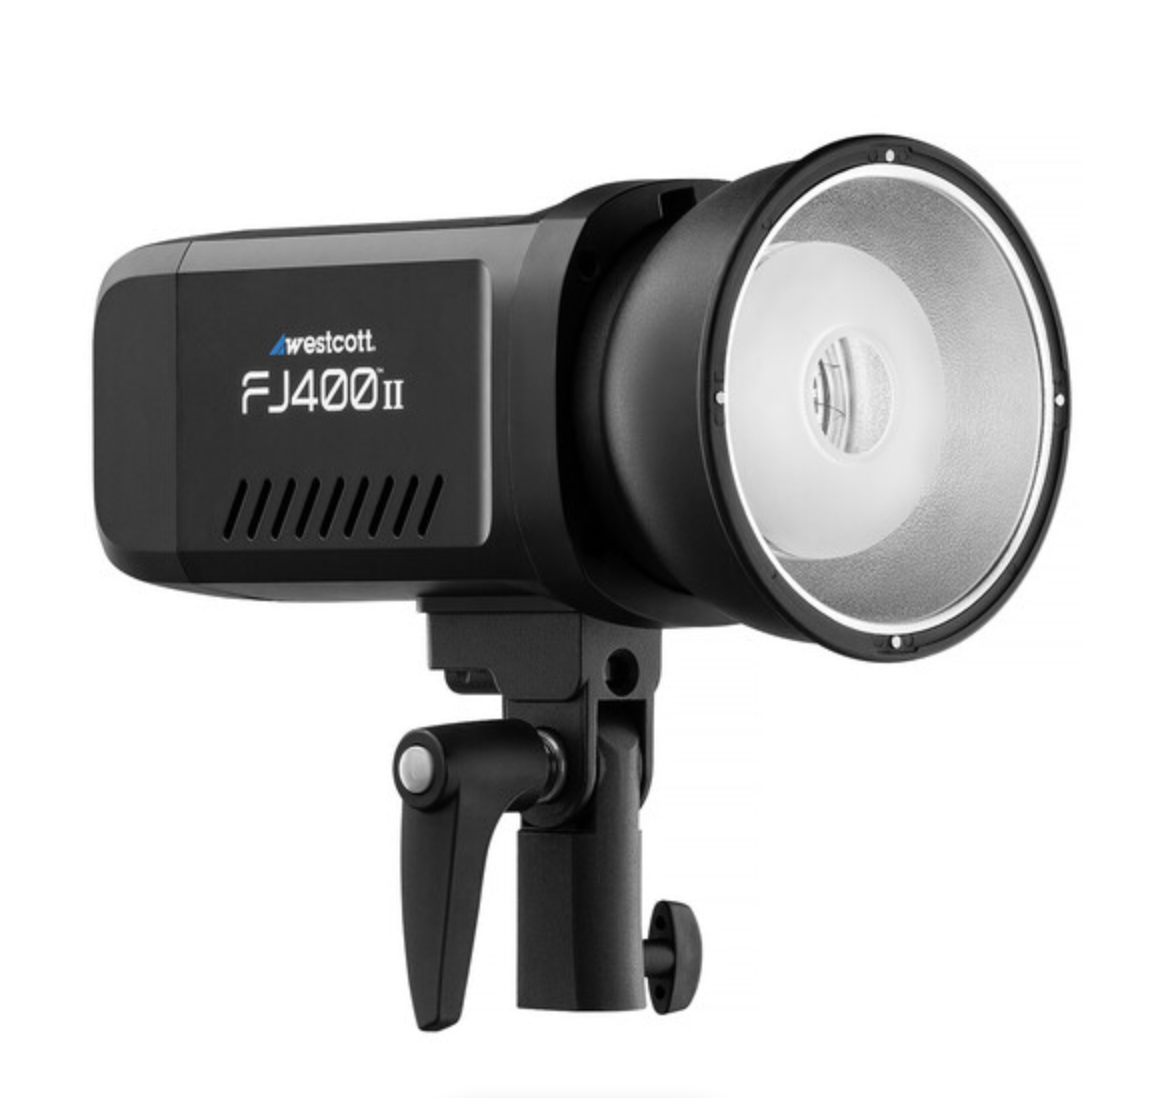
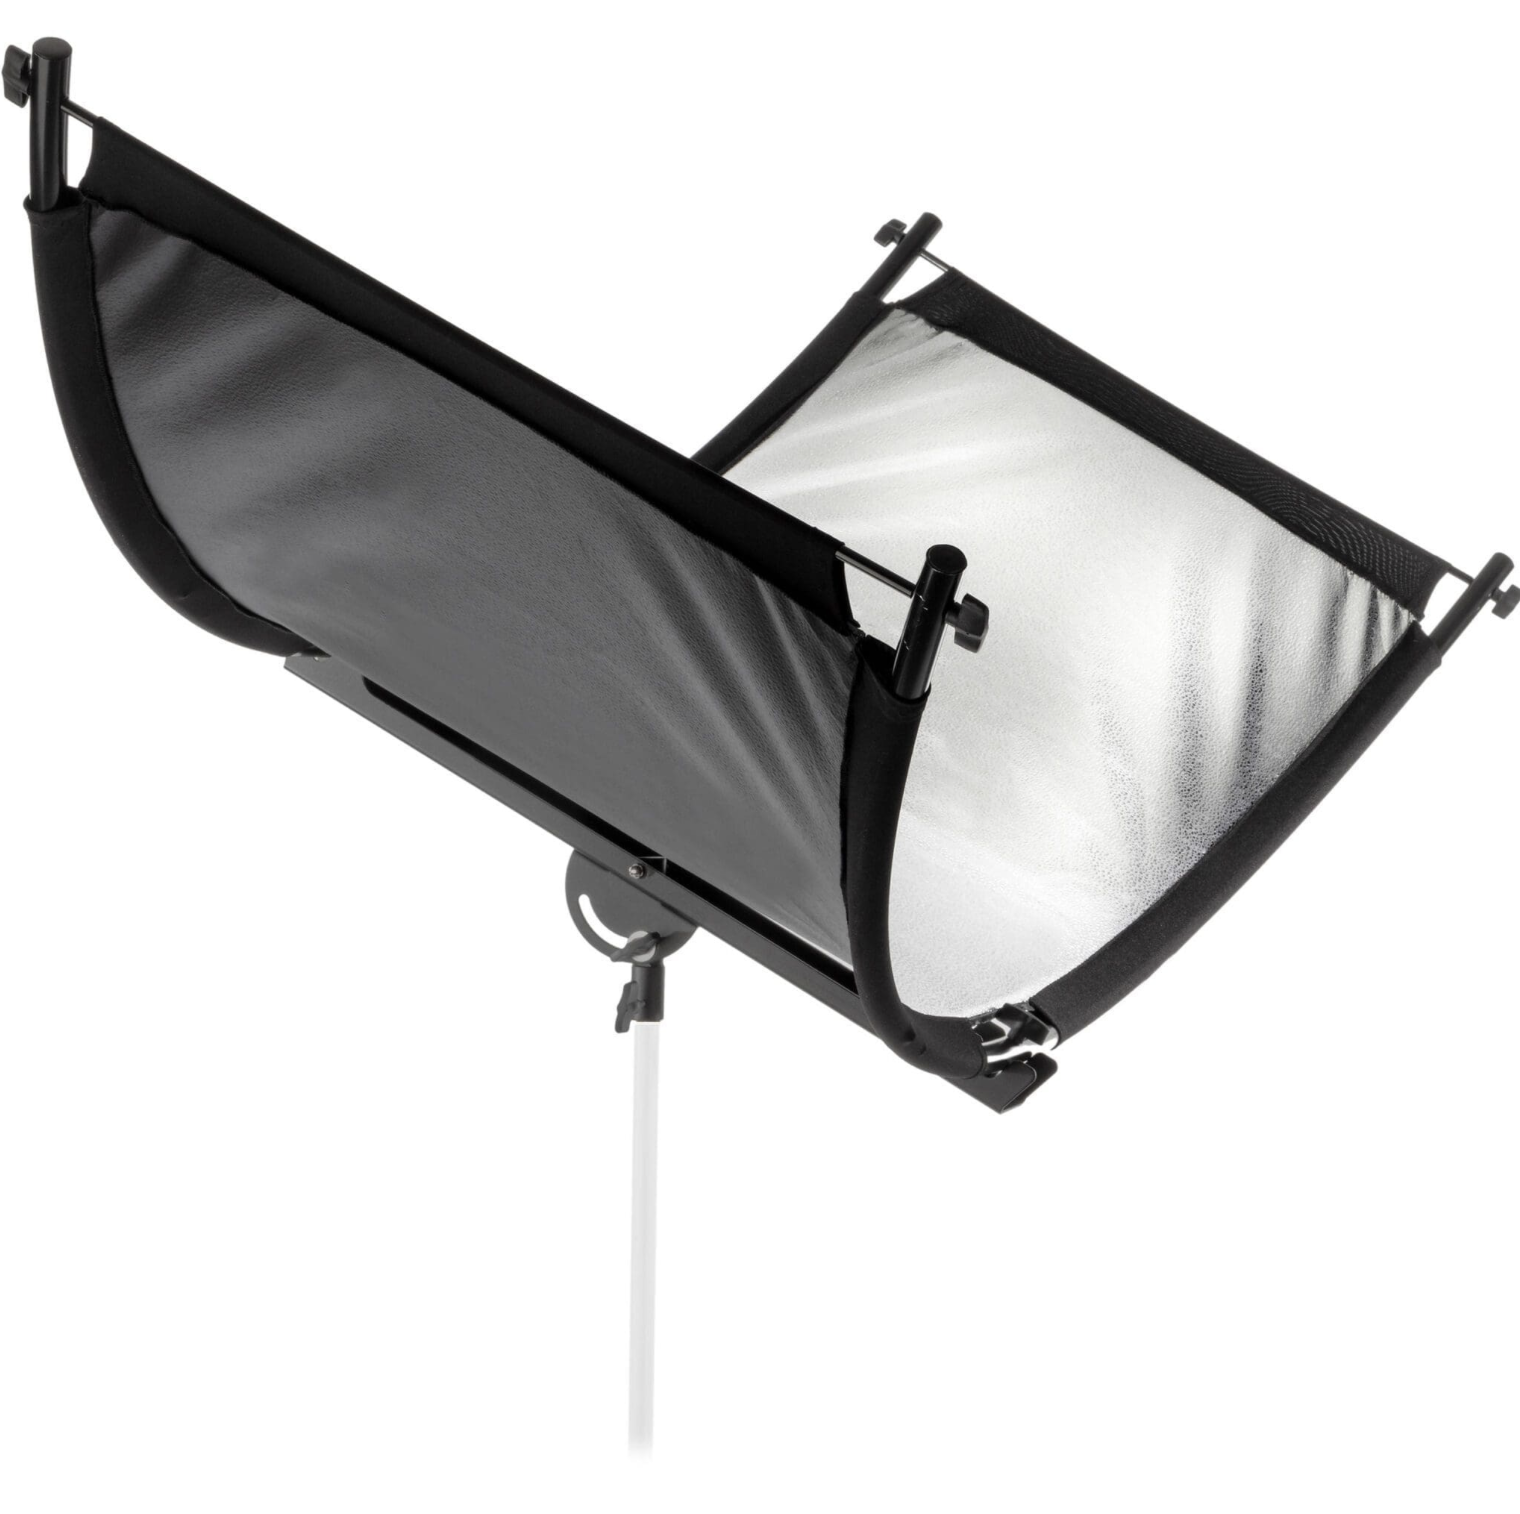
GEAR USED FOR THIS SETUP
Click each item for more details.


Try this setup on your next session and notice what changes! Share your post in our lighting group and tag me!